Getting started
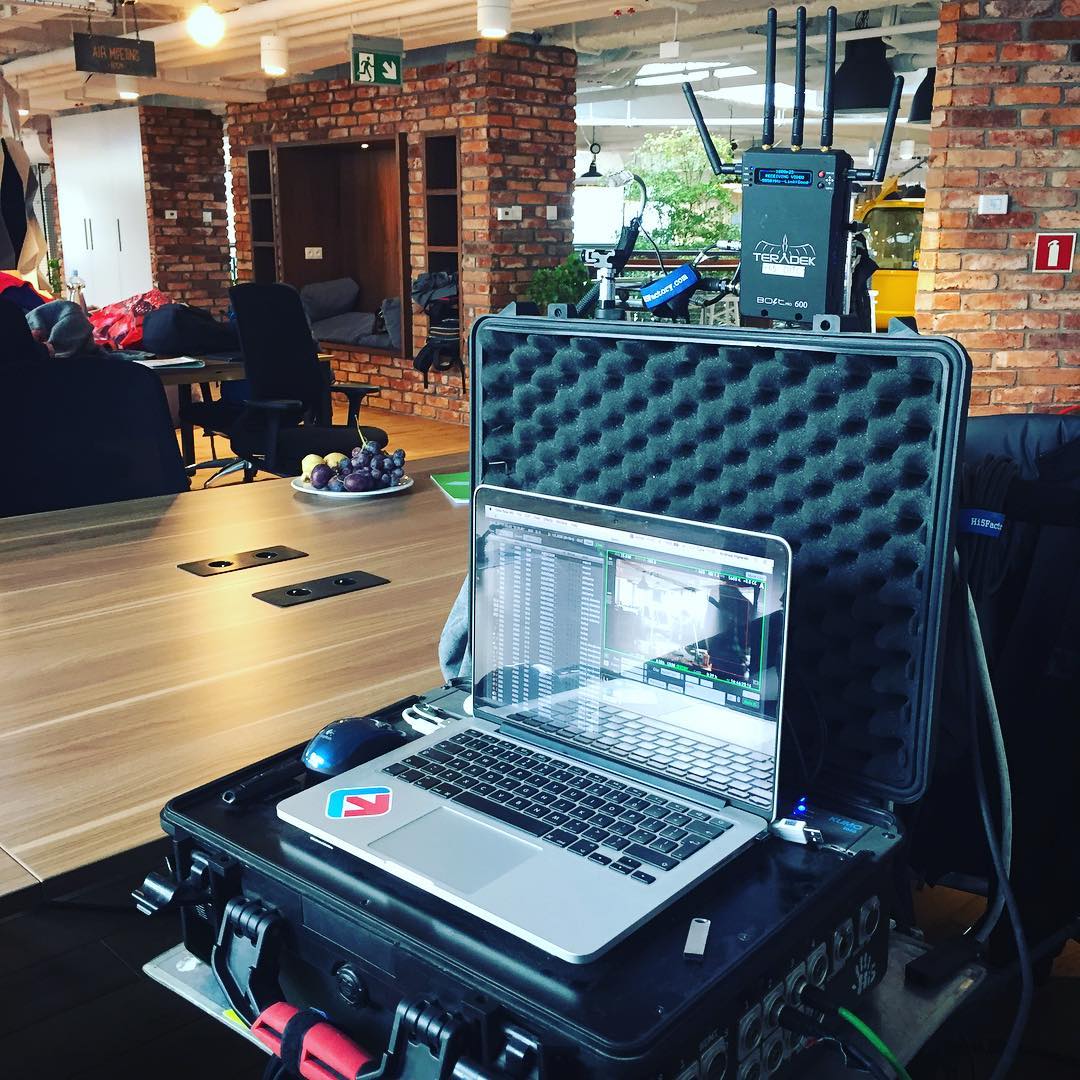
In this tutorial you will find basic information about Cine Take HD. I’ll show you how to download the application, install it and how to display the first movie clip.
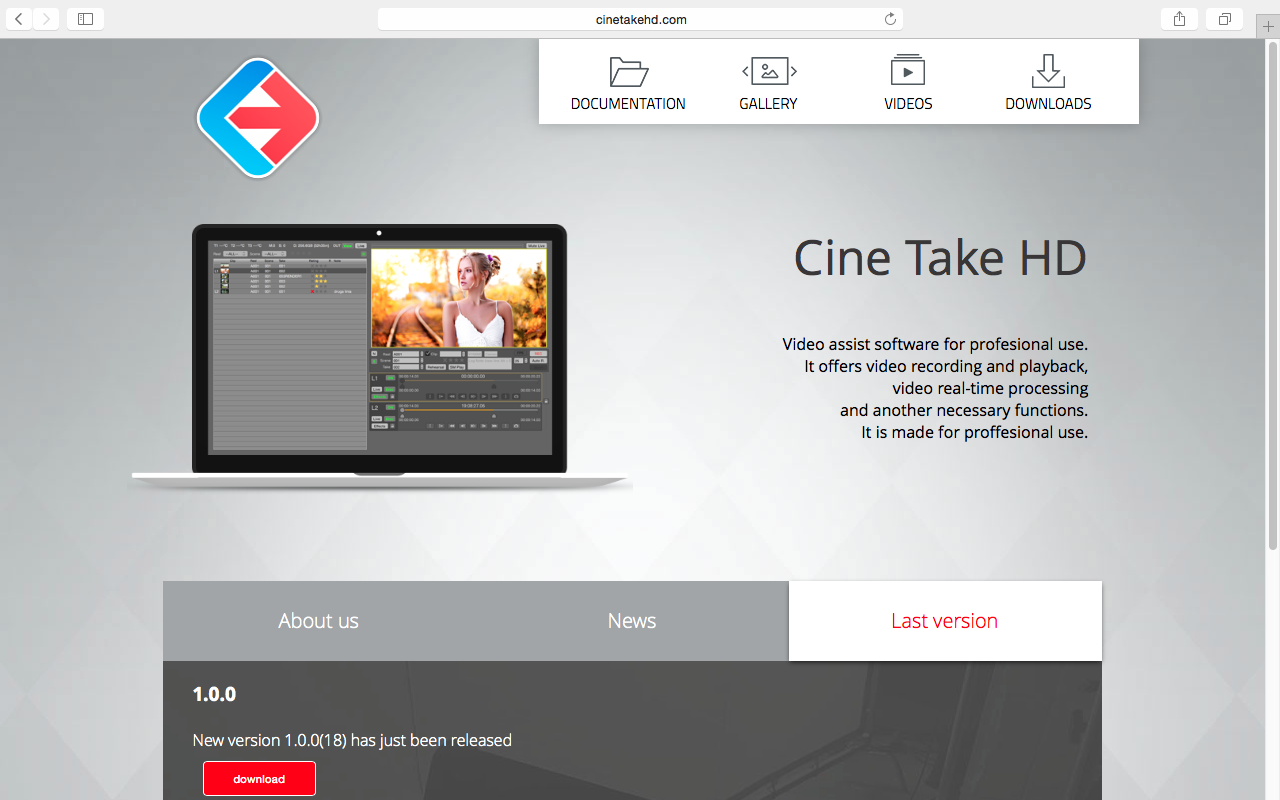
First, go to the Download section and download the latest version of the application.

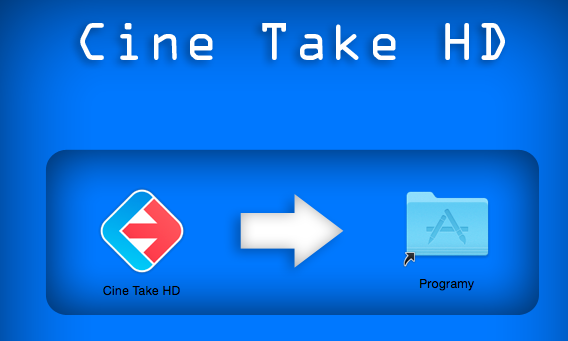
In the .dmg file you will find the Cine Take application and the release note file. Drag and drop the application to the application folder. Now, you can run Cine Take.
By default Cine Take opens with an „Untitled” project. To change it, go to File->Projects (cmd+n).
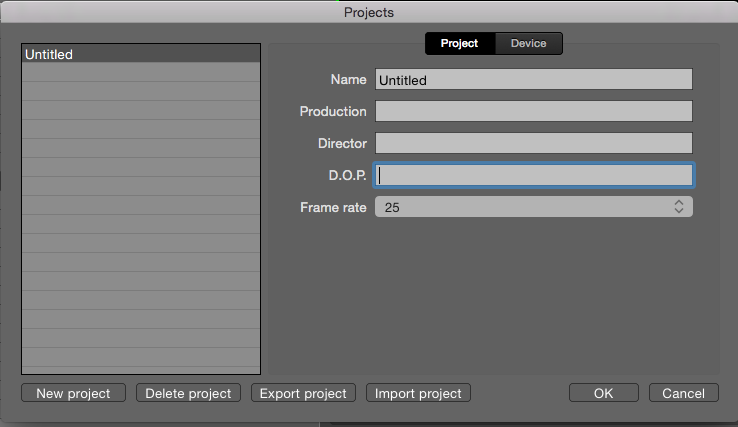
Then, you can change the project name and add all the information about the project, like director, dop, production etc. In the Device tab you can choose which device you want to use for capture. Currently Cine Take supports all BlackMagic devices like UltraStudio and DeckLink. In the 1.0.1 version we’ll add AJA support. If you want to test AJA, you can contact us and test 1.0.1 beta version. In the Device tab, you can also choose the Auto Rec function. To find out more about this function read my next tutorial (coming soon). If you want to create a new project, click the New project button and set all the data.
Now, when you have a correct project, you can record a new clip from a device or import movie files and still frames. Go to File->Import->Movie and select the file you want to import. You can select more than one file. At the bottom of the import window there is a checkbox. If you select it, the imported file will be copied to the capture folder on your hard drive. A fast method of transferring the clip from another computer is to use an external USB stick or a hard drive. You don’t need to copy and import the files. You can also drag the file from the Finder and drop it onto Cine Take. If you want to copy it to your local hard drive, hold the alt key.
You can read more about recording in this tutorial (coming soon).
If you have clips in the list in Cine Take, you can play them back. Double click on a list to select and play back a clip.
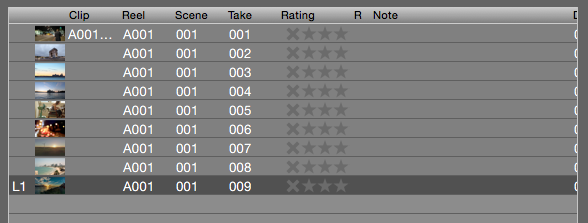
The picture below shows a view to control playing back and changing information like reel, scene, take etc.
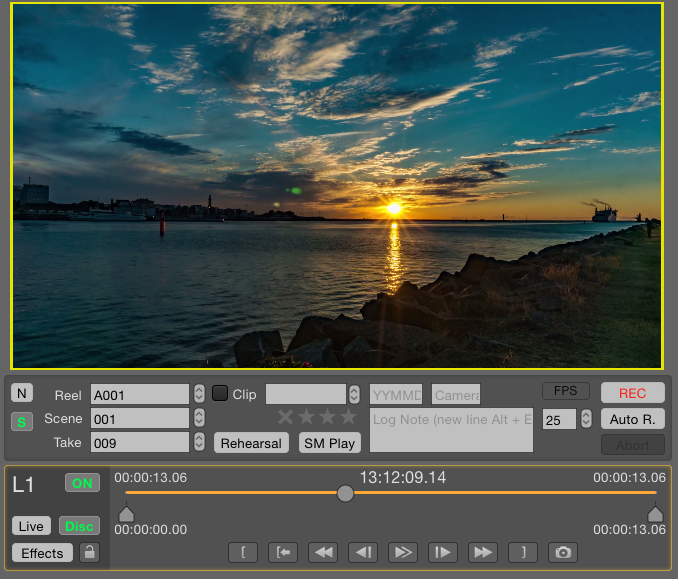
In the bottom-left corner there are several buttons. Click Live or Disc button to change the playback to live and vice versa. You can find out more about playback in a special tutorial.
Now you know how to use Cine Take HD. To find out more about it, read my next tutorials.